This is for users with admin access to Merlin Tickets. You can access the admin area by viewing your website (e.g. https://merlindemo.merlintickets.co.uk) then adding /admin to the end of the URL (e.g. https://merlindemo.merlintickets.co.uk/admin)
If you have a full Merlin system, please use the link below:
https://merlinsoft.zendesk.com/hc/en-us/articles/215950363-Creating-Events-on-Merlin
Step 1: Create an Event
Go to Admissions > Events > Add New Event
Fill in all the relevant details:
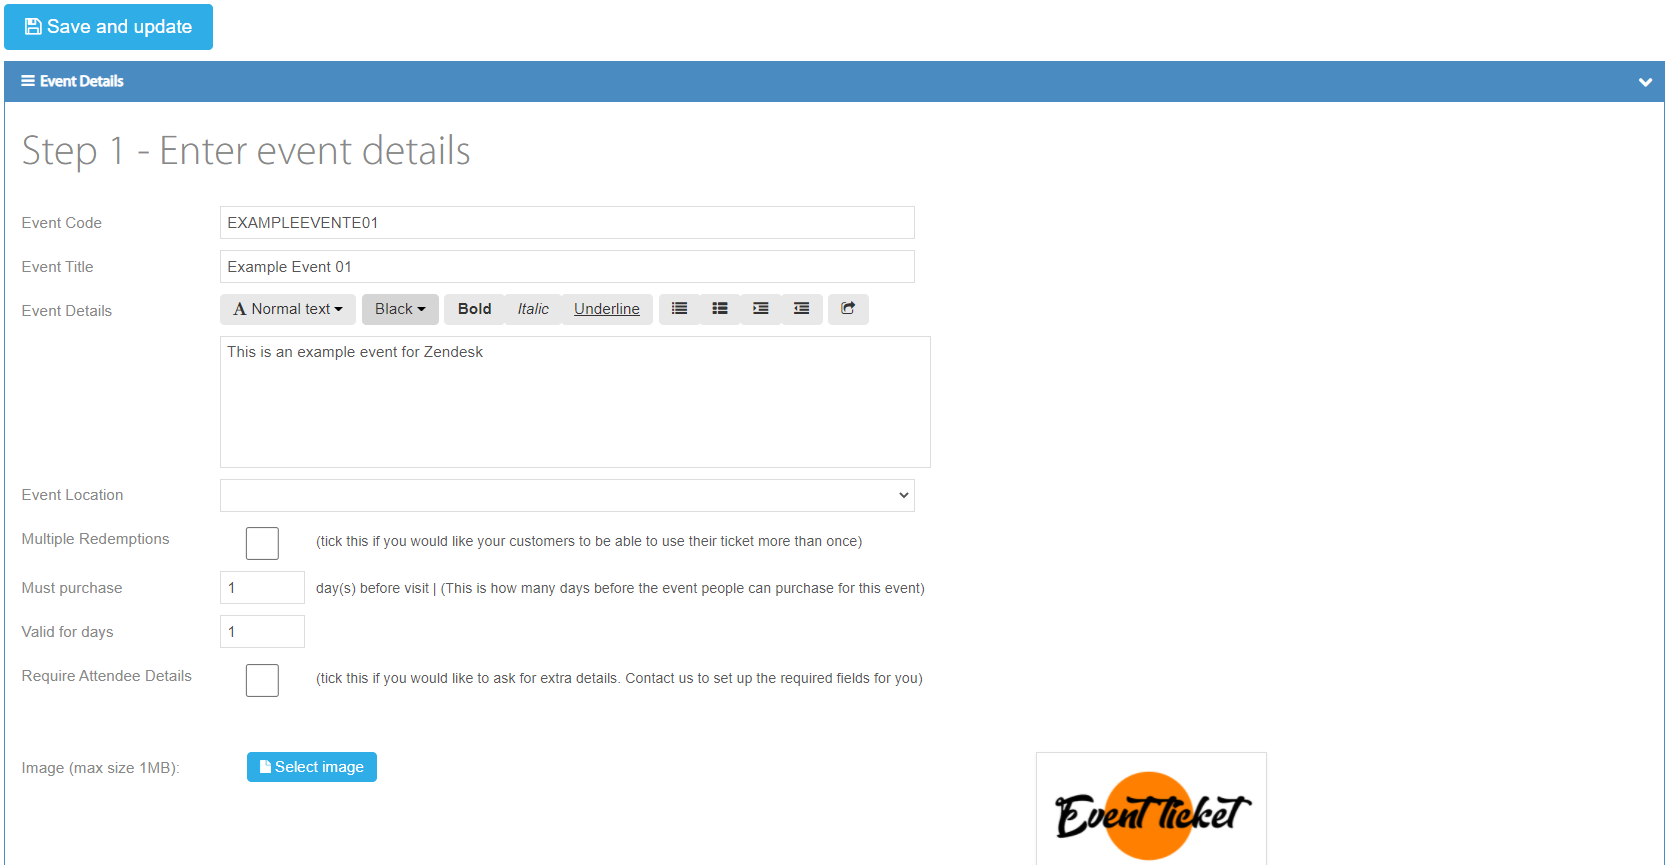
Event Code: This should be fully capitalised and unique to each event.

Event Title: This is the primary text for the event and will be displayed on the end user's page.

Event Details: This is the description of the event and will be displayed on the product page.

(Note: You can configure and customise your 'Event Details' using a range of options to suit your needs, to access these options use the buttons above the 'Event Details' text field.)
Event Location: If configured in the 'Configs > Venue' option, you can assign a location to your event.

Multiple redemptions: if people are expected to leave the venue and return, this can be checked to allow multiple scans of their online ticket.

Must Purchase: This is in place to stop bookings from happening during or after the event. e.g. If it is set to 1, customers can only book ≥24 hours before the event starts.

Valid for Days: This is in place for events such as multiple day tickets or memberships.

Require Attendee Details: This is for events that require more information on each attendee (For custom attendee details you need to contact us (Merlin) to set those up).

Track and Trace: If you would like to add Track and Trace to your event, tick the 'Require Attendee Details' checkbox and then in the 'Event Title' text field place a full stop at the end. (e.g. 'Example Event 01' would then be 'Example Event 01.')

Afterwards, you must also place a full stop on which ticket you would like Track and Trace to be enabled on. This full stop is placed on the 'Ticket Type' text field of the ticket, as seen here (more on ticket creation further on):

(Note: You should only enable this on the ticket if the ticket holder is above the age of 16)
Image: Here you can upload an image of your choosing to represent your event.
(Note: Supports both PNG and JPG file types)

Once the event details have been filled in we can now move on to the next part. Creating the tickets for your customers.
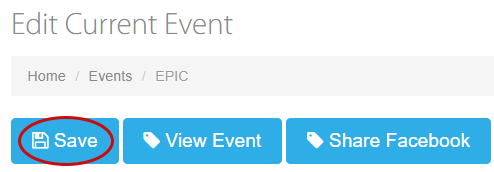
Alternatively, if you do not currently have time to setup dates or tickets, you can press save and come back to the event later:
Step 2: Creating the Tickets
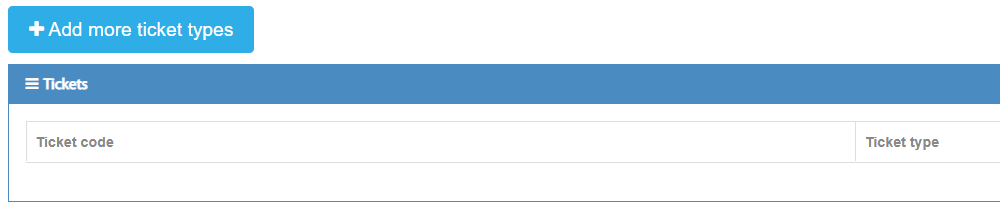
Here you need to describe your ticket, such as pricing, name and/or tax band. If your event has one price, a general entry ticket should be created (for multiple prices, create multiple tickets).
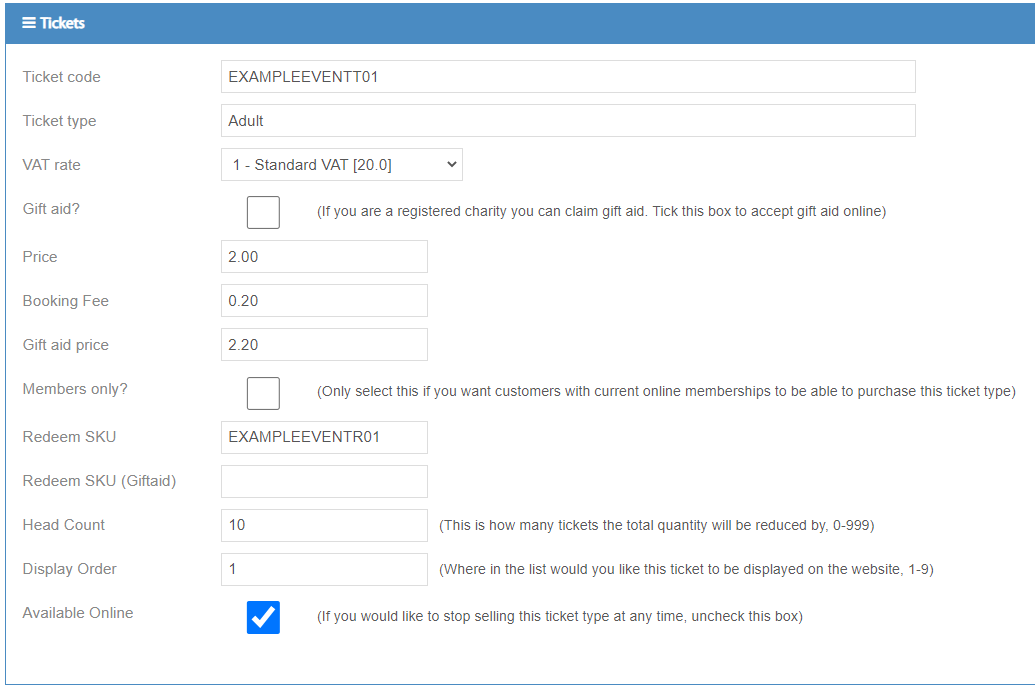
Ticket Code: Must be capitalised and unique to each ticket

Ticket Type: This is the title of the ticket and describes who it applies to (e.g. General Entry, Adult, Child, Member etc.)

VAT Rate: This is sales tax, which is added to the sale of each ticket (all prices are currently shown Including the standard 20% VAT online). You can setup custom VAT rates by going into 'Config > Vat rates'

Gift Aid: This is used for charities and CASCs to claim back revenue from HMRC. So long as the customer has paid the basic rate of income tax, you can claim 25p (pence) for each £1 donated (e.g. each purchased ticket with Gift Aid enabled)
(Note: You must be a registered Charity or Community Amateur Sports Club to claim back)

Customers that use this feature will be required to agree to certain terms via a checkbox at the checkout:

Price: This sets the sale price for your ticket (This includes VAT)

Booking Fee: This is an additional cost you can add onto the ticket you are selling

Gift Aid price: Separate price set for customers eligible to gift aid (Includes VAT)

Members only: If you sell memberships online, only the customers with member access can purchase this ticket (currently only for use if memberships have been purchased online).

Redeem SKU: Only for use with Merlin® 8. For Online only websites, type in "REDEEM".

Redeem SKU (Giftaid): As applied to the 'Redeem SKU' option. Type 'REDEEM'
Headcount: How many people are included in the ticket (e.g. A headcount of '4' means a family of four can turn up with only one ticket).

Display order: This is the order in which the ticket is displayed on the events, 1 is shown first, 2, 3, 4 and so on are shown in order.

Available Online: If this ticket is to be sold online this should be checked. If you have 'early bird tickets' you may want to hide these after a certain date by un-checking the box and saving.

Step 3: Setting the date and time of the event
Here we create different days, dates and times for our event.

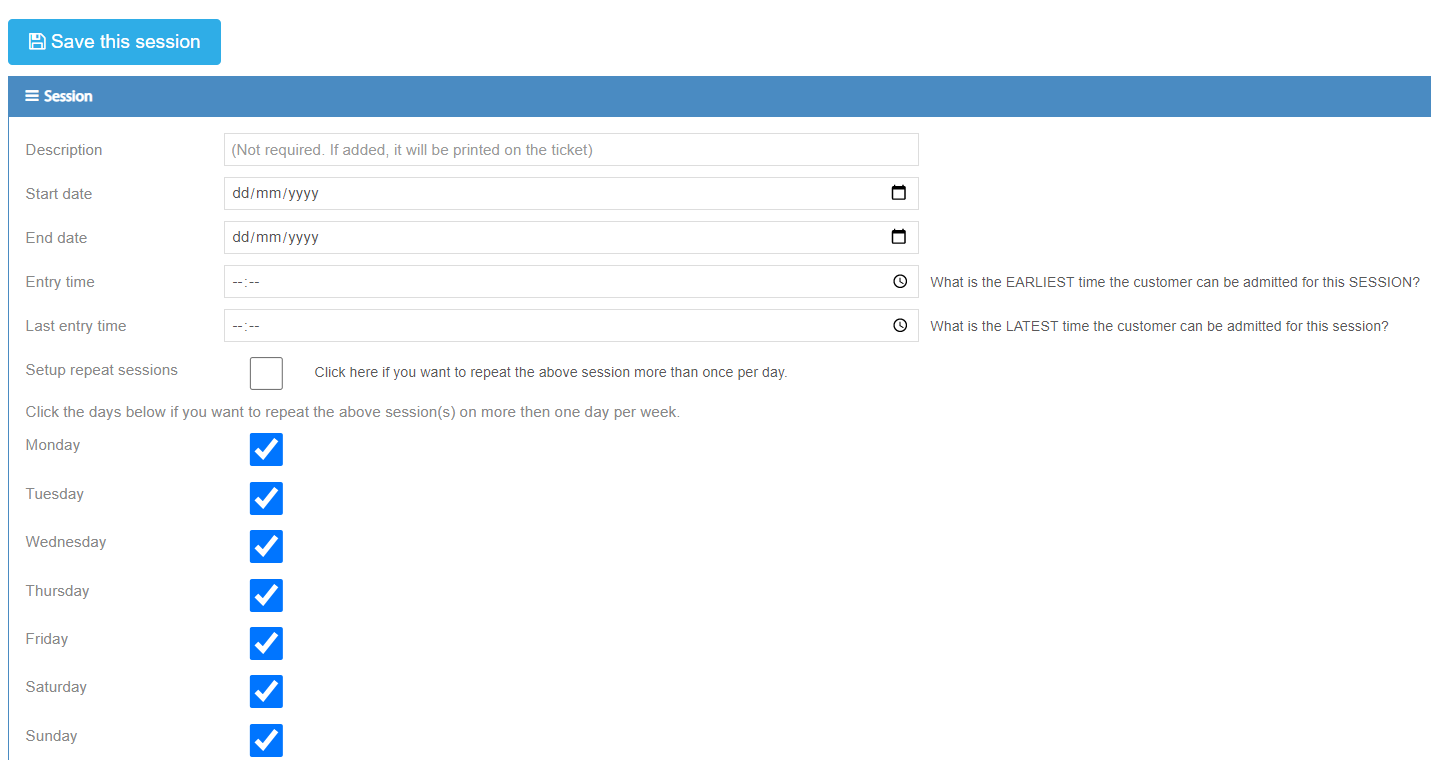
Description: This can be used to include disclaimers for certain dates/time slots. If left blank, the customer will see the date and time of the event when they select it.

Start Date: Start date of event.

(Note: If you click on the calendar icon, you can select your dates through our drop down calendar)
End date: For a single day event, select the same date as the start date. For multiple days select a future date.

Entry Time: Start time of the first session of your event.

Last Entry Time: This is the latest a customer can turn up to the session. For single day sessions this is the latest they can turn up on that day.
(Note: For multiple/repeat sessions per day you set 'Last Entry Time' to the latest time they can turn up to the first session)
Single day session:

Repeated sessions in 30 minute intervals:

Setup Repeat Sessions: This is used to repeat the session multiple times per day

Repeat Session: Here you can configure the time interval of each session and how often they repeat e.g. 30 minutes

(Note: Intervals are only done in minutes, if you want hour long sessions or more you must convert them into minute format)
Repeat Until Time: This is the start time for the last session of the day. E.g. If the event ends at 18:00 and you have 30 minute sessions, you would set the last repeat time to 17:30 as that will be the last session of the day which will run to 18:00.

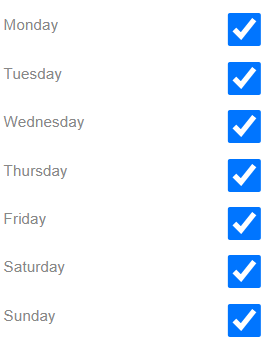
Days the events are available for: Using the checkbox table as seen on the image below, you can configure the days you want your event/session to run on
Maximum Places: This is the total number of people able to attend. If you do not have multiple sessions per day, this would be the total amount of people able to attend on that day. If you have multiple sessions per day, this would be the total for each session.

Available Online: Tick to make this session live online. Un-tick to remove this session from online.

Maximum online: (For use with Merlin's EPOS system) If you only use Merlin Online, you can leave it blank
Daily Sessions: If your event spans across multiple days/weeks and you have repeated sessions enabled, ticking this option will create a unique, editable amount/time for each session throughout the day. E.g. If you have an event with a duration of two weeks with repeated sessions within each day, By enabling 'Daily Sessions' you can edit each separate session rather than the day as a whole. This means if you're running on reduced staff for one session you can decrease the 'Maximum Places' to compensate for that whilst keeping the rest of the sessions on the day unaltered.

You have now added your tickets and your dates, and are just about ready to get your event published!
To show your event and tickets online, you must now add it to a category. Upon creation of your Merlin Online account, there already is a Category titled 'Events' in which you can place your events. If you would like to create more categories go to 'Events Categories' and create a new one that fits your needs.
Note: on Merlin Online they are called "Event Categories" while in Merlin Backoffice they are known as "Collections".
To see how to add tickets to a collection and the final step, click here.
Still need some help? Contact us on +44(0)1226 294413
0 Comments