This is for users with admin access to Merlin Tickets. You can access the admin area by viewing your website (e.g. https://merlindemo.merlintickets.co.uk)then adding /admin to the end of the URL (e.g. https://merlindemo.merlintickets.co.uk/admin)
In this article we will show you how to make your event descriptions that bit more attractive for your customers' viewing pleasure.
To do this, you should be logged into the admin area of Merlin Online.
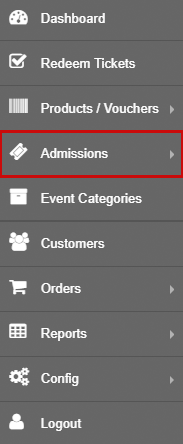
Go to admissions, as such:
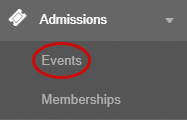
You should now have the option to choose different menus from the drop down menu. In this case, click events, as such:
Then you must click on one of your existing events (Note: If you have not made an event yet, here is our guide on how to do just that: Creating an Event, Adding Tickets & Selecting Dates), you should now be re-directed to the event configuration page, as such:
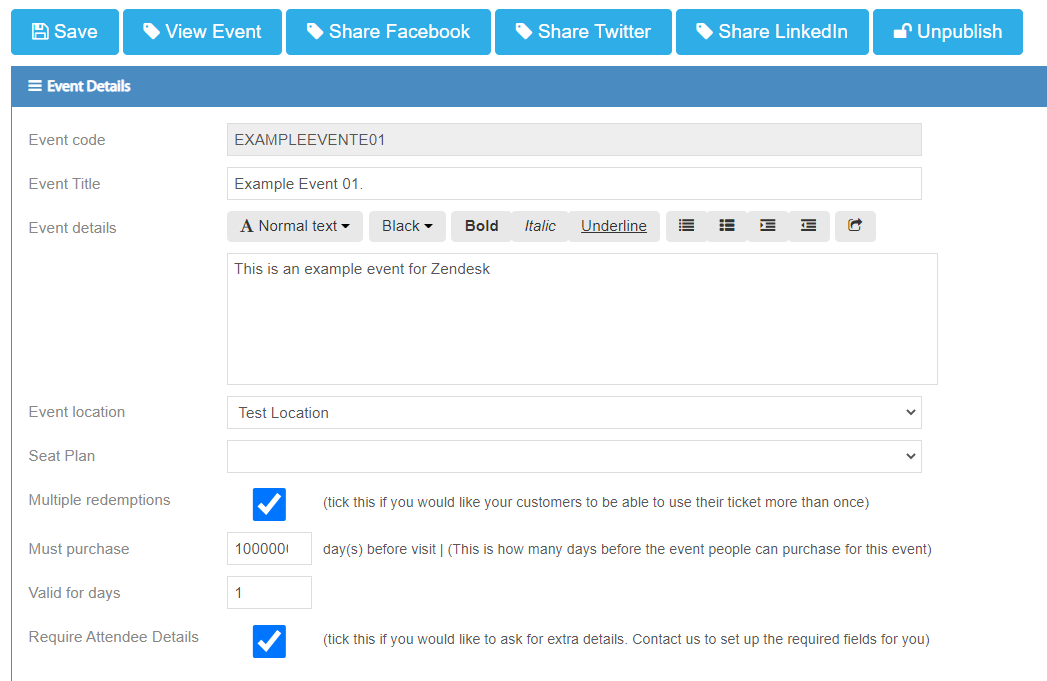
You should now see the 'Event details' (also referred to as: Long Description) box, this is where you can customise the description of your event. There are numerous amounts of customisation options built-in to make your event descriptions look that much better.
Adding Images:
To add images to your description, you must paste an image that is available from the public domain (i.e. Google images) to do this:
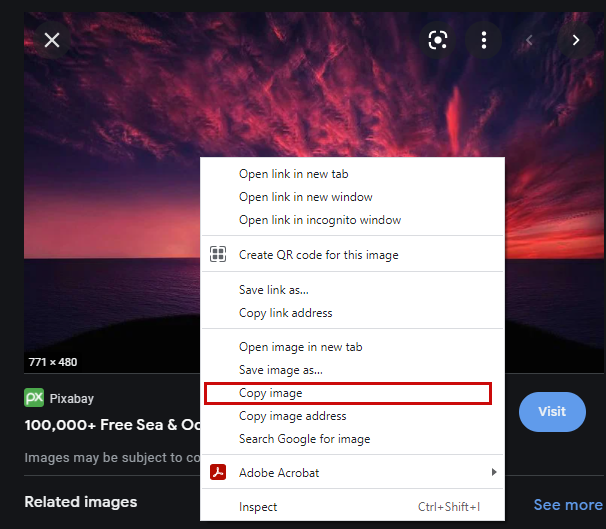
After copying the image, go back to the event description and paste it (either Ctrl and V, or right click then select paste)
Alternatively, you can send us the images you would like on your description (via e-mail) and we will upload them to our server for you to add.
Adding Emojis to Your Description:
Our description box also supports the use of emojis.
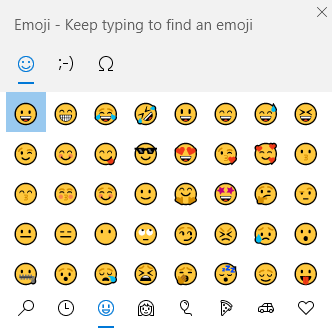
To do this on Windows 10: On your keyboard, hold down the windows key  and then press . (full stop) whilst still holding down on the windows key. This should open an emoji keyboard on your screen for you to use, as such:
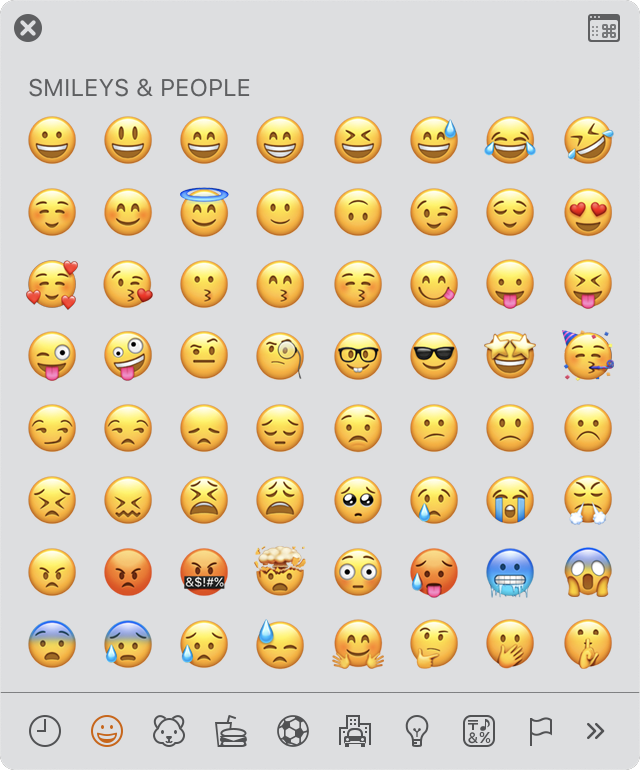
For MacOS: To bring up the emoji panel on Mac, on your keyboard hold the command key, then the control key and spacebar. Which should open this:
For Android and iOS: on your on-screen keyboard you should see an emoji icon which when clicked should prompt you to an array of emojis of which you can use in the description box.
Alternatively, if none of these work, you can go to an emoji website (such as: getemoji.com) and copy one from there and paste it in your description.
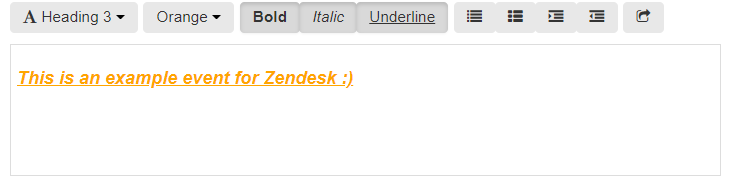
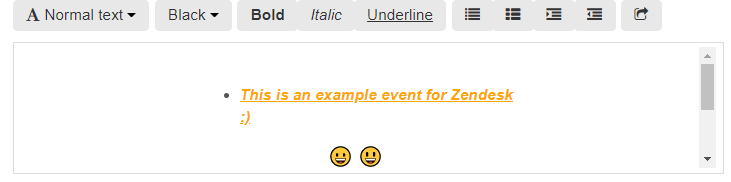
Here is how emojis in your description would look like:
Text Size:
To change text size you must access the drop down menu on the event details, as such: 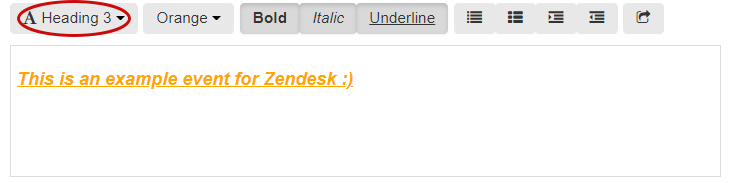
Upon clicking this, a drop down menu will appear, as such:
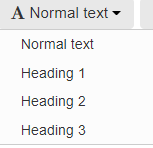
Normal text is 16 pixels (px)
Heading 1 is 32 pixels
Heading 2 is 24 pixels
Heading 3 is 20.8 pixels
(Note: to apply this to certain pieces of text, you must hover over the text you want and select it by holding down left mouse button and dragging it across the text or if on mobile, by pressing your finger down on the text)
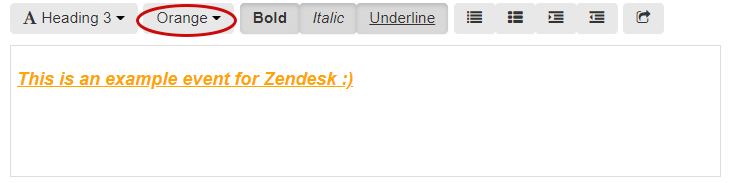
Text Colour:
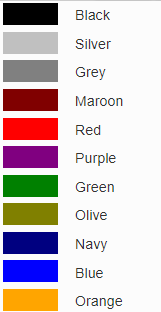
To change colour, you must access the second menu, as such:
Here are a number of different colours that are as standard in Merlin Online
(Note: to apply this to certain pieces of text, you must hover the text you want and select it by holding down left mouse button and dragging it across the text or if on mobile, by pressing your finger down on the text)
Text Boldening:
To bolden your text (for added effect and emphasis), highlight the parts of text you would like, then click on this box: 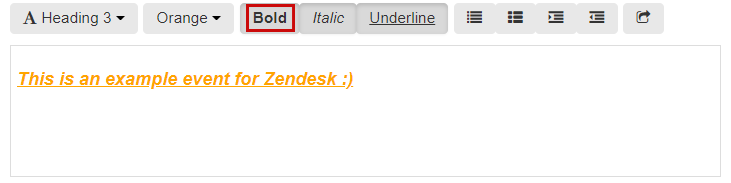
Italic Text:
To make parts of your text standout from the rest of the text, you can use the italic format (texts such as titles or subheadings are recommended for this)

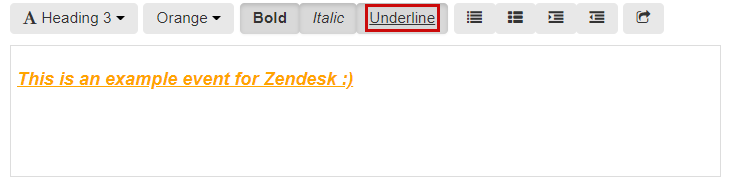
Underline Text:
To underline parts of the text, you can do this by highlighting the text you would like then clicking this option:
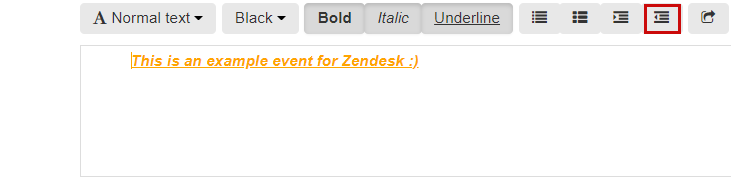
Listing Your Text:
This allows you to list your text contents for your customers to easily digest important pieces of text:

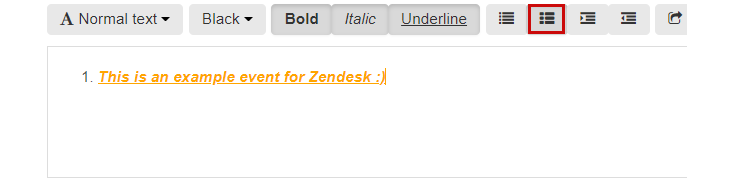
Number Ordering Your Text:
This gives you the ability to order your content in a numbered list (such as step-by-step tutorials on how to get to the location etc.):
Outdenting Text:
This gives you the ability to move your text along the X-axis (horizontally) to the left side of the description box 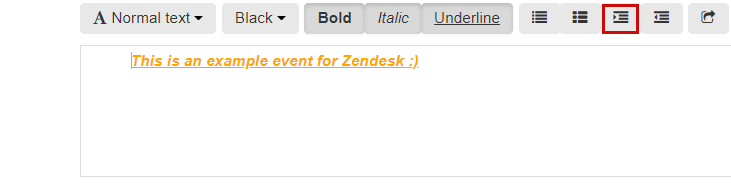
Indenting Text:
This also allows you to move your text along the X-axis, however it is moved to the right side of the description
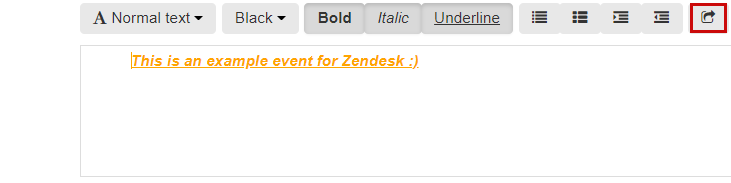
Inserting Hyperlinks:
This allows you to make references to external sources in your description box, such as inserting a link that re-directs the customer to your Facebook page or location on Google maps.
After clicking this, you should see this box overlaid onto your browser screen:
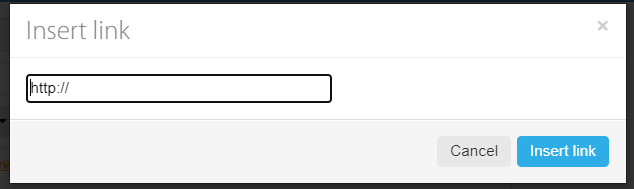
Here you can insert any link you would like to have included in your event's description.
Including your event's location in the description:
If you would like to include your event's location through Google maps, all you have to do is include the exact location your event is at in Google maps via a link.
To do this: go to Google maps, find the exact map position your event will take place at (this can be simply done by typing in the building's/venues address). After you have found it, you need to pin it to get the exact geolocation, to pin it, do a single left click on the spot you would like the pin to be placed. Once the pin has been placed, the address bar should change to include the longitude and latitude coordinates of that location.

Copy the text from the address bar into the event's description and it will automatically create a clickable link for customers to use.
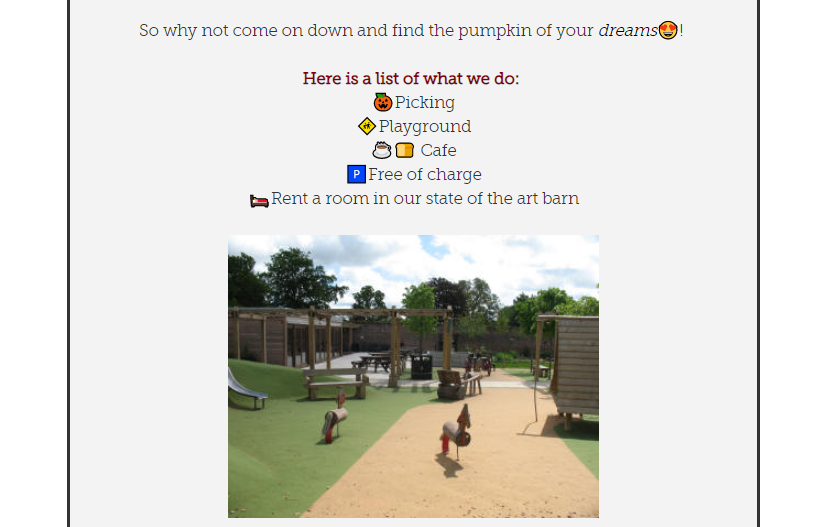
Here is what a description can look like:
Still need some help? Contact us on +44(0)1226 294413
0 Comments