This is for users with admin access to Merlin Tickets. You can access the admin area by viewing your website (e.g. https://merlindemo.merlintickets.co.uk)then adding /admin to the end of the URL (e.g. https://merlindemo.merlintickets.co.uk/admin)
In this article we will show you how to utilise attendee details on your events.
This allows you to require details for individual headcounts of the ticket, this can be used for networking events or track & trace, where additional information is vital to keep track of your visitors/customers.
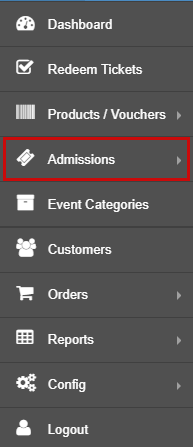
To start off, you should be logged into the Merlin Online admin area, on the left-hand menu select 'Admissions':
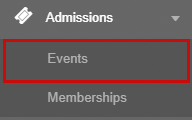
Then select 'Events':
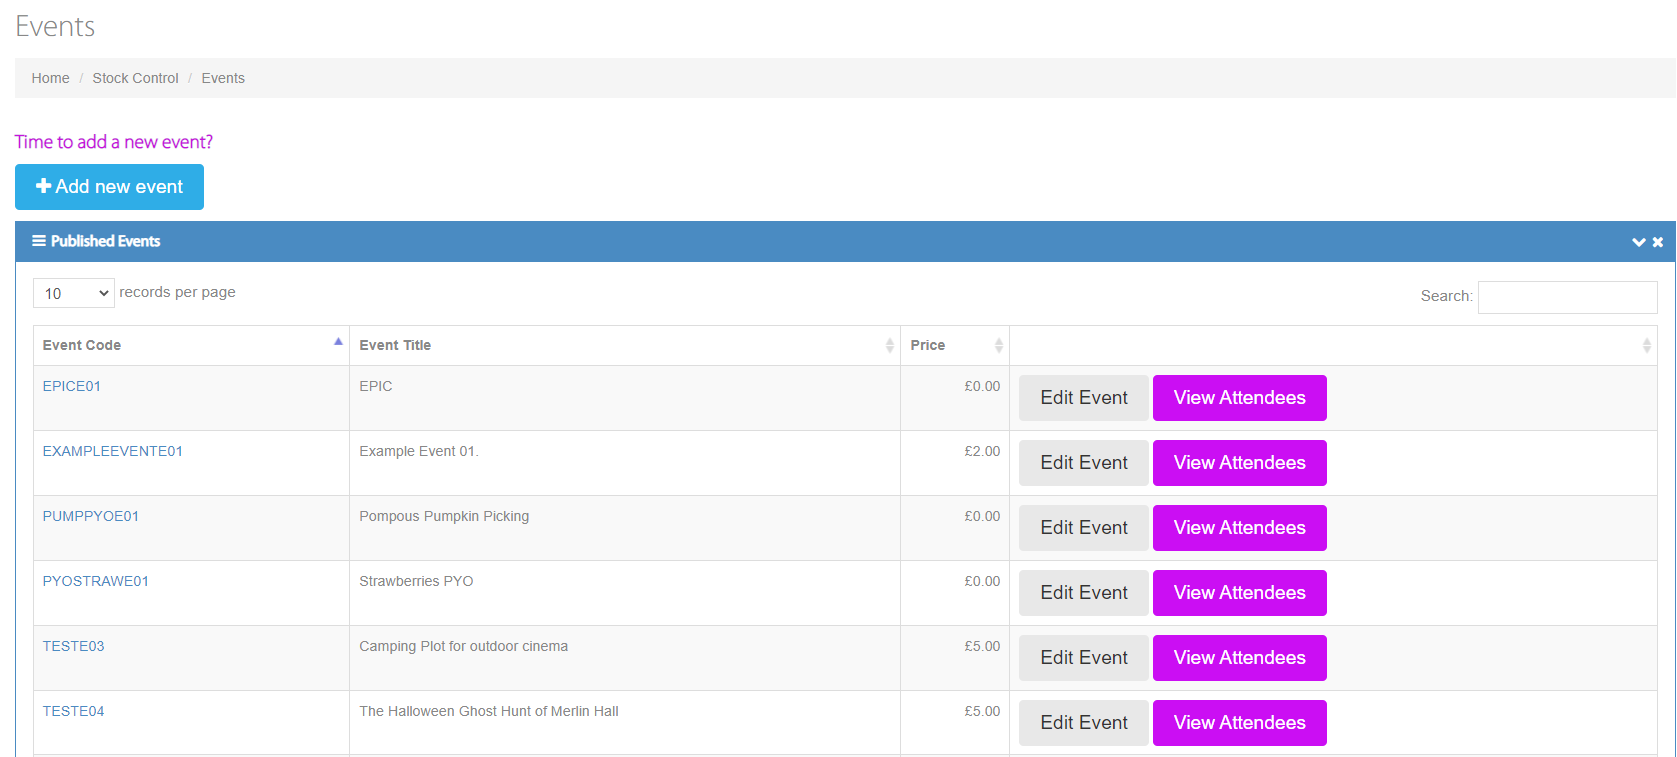
You should be directed to the events page listing all your published and unpublished events, as such:
Pick one of your existing events (note: if you have not created an event yet, you can check this article out: Creating an Event, Adding Tickets & Selecting Dates): 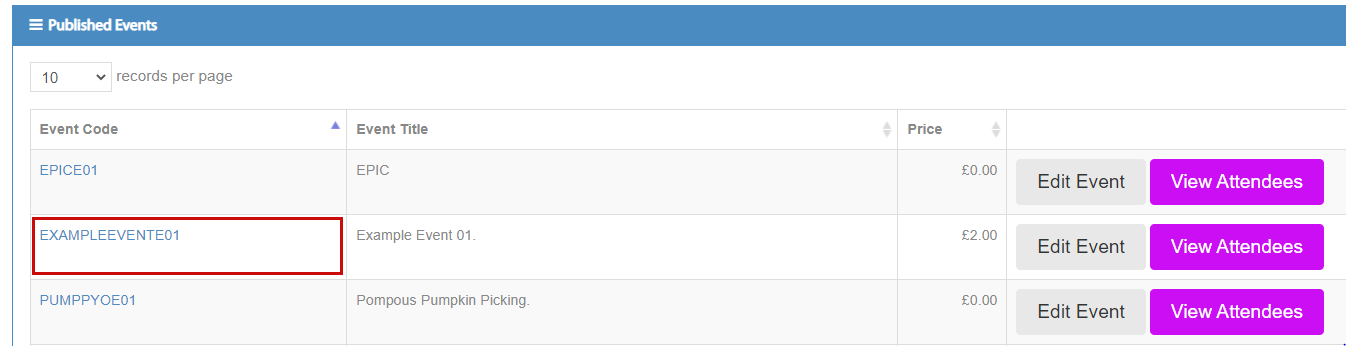
On your chosen event's edit page, look for the 'Require Attendee Details' field:
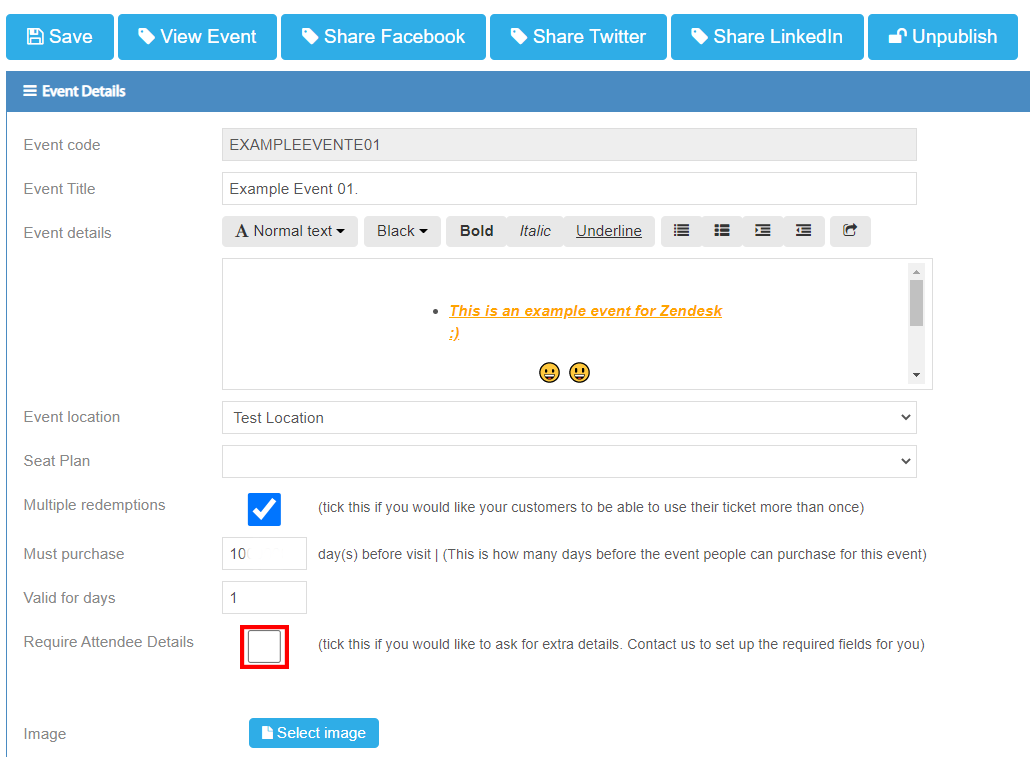
Tick the highlighted box to enable attendee details, as such:

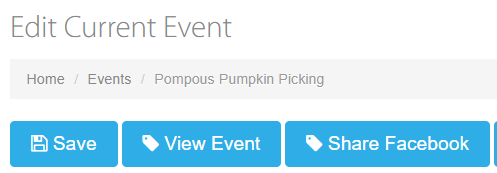
To save this change, click the save button at the top of the page:
To make sure you have enabled attendee details, you can do this by adding a ticket to your cart (on your .merlintickets), after clicking 'add to basket' you should be directed to the standard attendee details page:
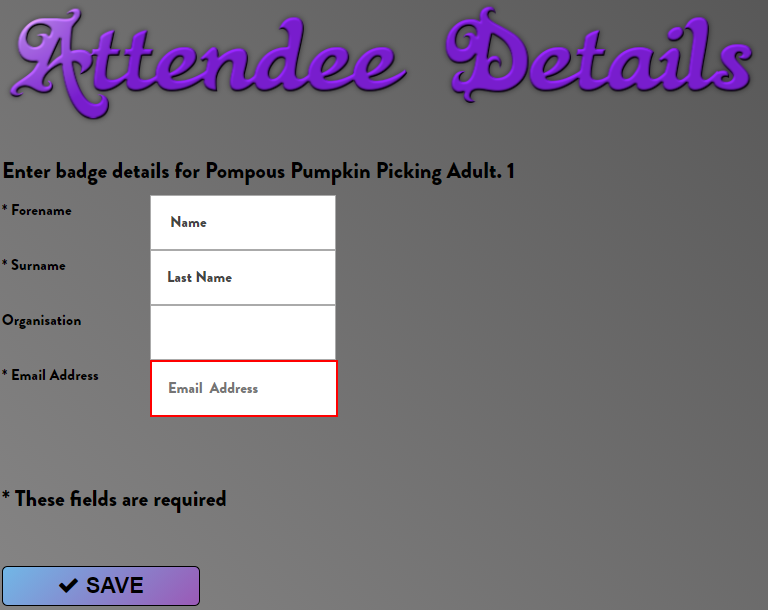
This is the standard attendee details template, in which the customer would add their name, organisations and e-mail. (Note: The headings with an asterisks before them means those text fields are mandatory).
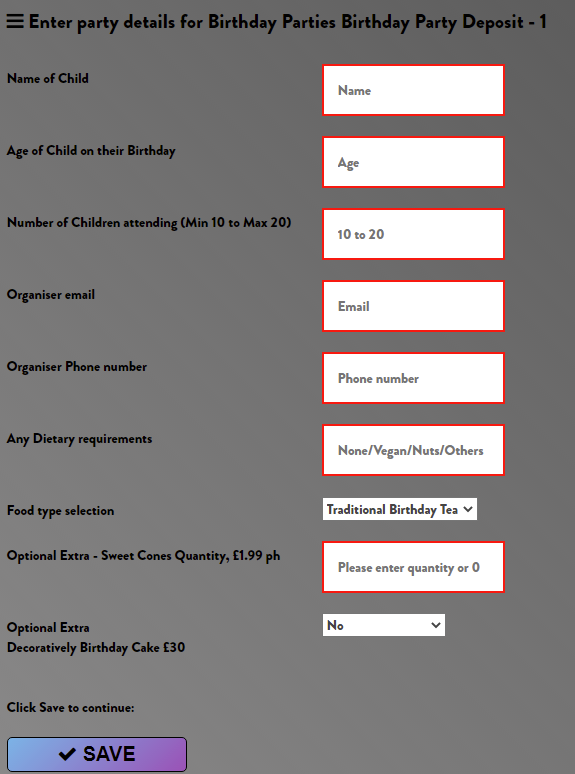
In the event that you would like unique attendee details from your customers (i.e. E-mail for each, phone number, multiple choice drop down menus, etc.) contact us and we can add it.
Here is an example of some of the details we can add on:
Enabling Track & Trace:
To enable track and trace on your event, go back to the edit event page.
Firstly, add a full stop to the event's title, as such:


(e.g. 'Example Event 01' would then become 'Example Event 01.')
Next, select the tickets you would like track & trace to be enabled on:
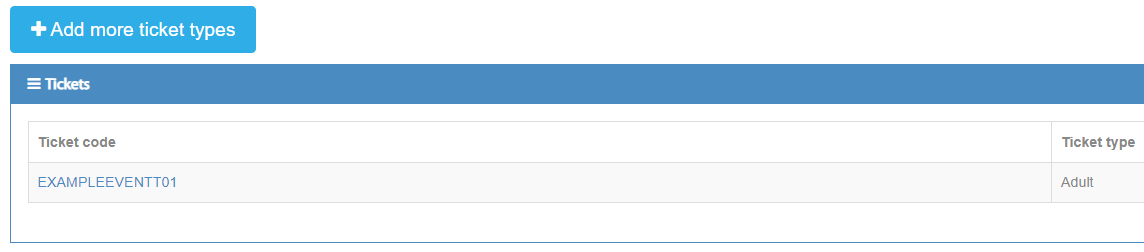
Then, a full stop is placed on the 'Ticket Type' text field of the ticket (Note: if you do not add a full stop to the ticket, this will not be enabled to the ticket), as seen here:
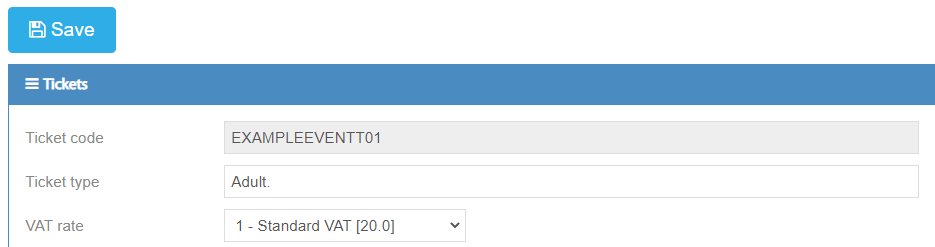

(Note: You should only enable this on the ticket if the ticket holder is above the age of 16)
To save this, select the 'save' button from the top of the page: 
To test that this works:
- go to your .merlintickets website
- choose the event you have enabled track & trace on
- pick the ticket you have also enabled track & trace on
- add the ticket to your basket
You should now be directed to the standard track & trace template, as such:
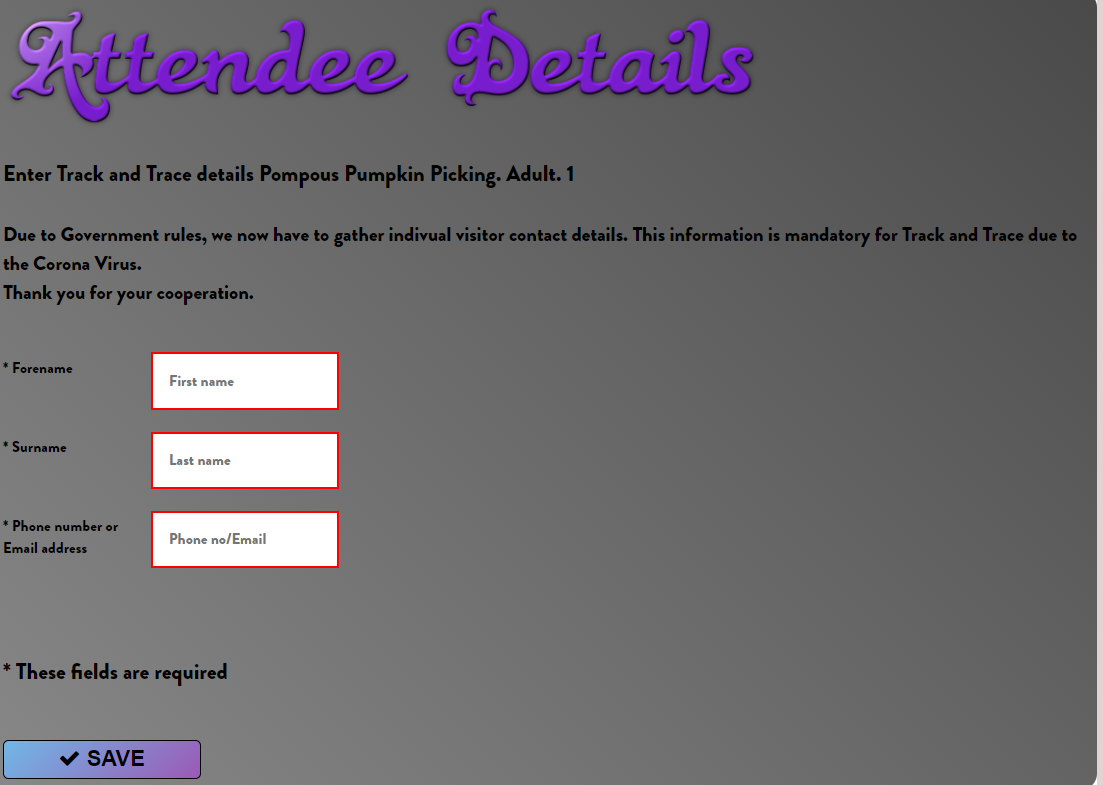
You should now be fully aware of how our attendee detail system works in Merlin Online!
Still need some help? Contact us on +44(0)1226 294413
0 Comments